

Keeping your kitchen floor clean is a key ingredient for a happy and healthy home. A clean floor not only adds a touch of sparkle to your kitchen but also ensures a hygienic environment for you and your family. Let’s explore the details of how you can achieve a spotless kitchen floor in just five easy steps. Don’t worry; it’s a straightforward process, and you can do it all by yourself!
Floors:
Before embarking on your cleaning journey, let’s ensure we have everything needed to tackle various floor types. For tile or laminate floors, gather a broom, a good mop, a bucket, a mild cleaner suitable for these surfaces, and a soft cloth or sponge. If you have hardwood you may want to use a specific cleaner designed for wood surfaces. Now that we are well-equipped, let’s dive into the cleaning process.
Step 1: Gathering Your Supplies
Begin by collecting all the necessary supplies, ensuring that they are appropriate for your specific floor type. If you have tile or laminate floors, a broom is perfect for sweeping away loose debris. For engineered wooden flooring a microfiber dust mop can be gentler on the surface. In your arsenal, include a good mop, a bucket for your cleaning solution, a mild cleaner suitable for your floor type, and a soft cloth or sponge for those stubborn spots.
Step 2: Saying Goodbye to the Mess
Start the cleaning process by sweeping away any crumbs, dirt, or debris with your chosen broom or dust mop. Be thorough in reaching into the corners where dust tends to hide. This initial step is crucial, as it prepares your floor for a deep cleanse, ensuring the removal of loose particles that might scratch or damage the surface during mopping.
Step 3: Creating Your Magical Cleaning Potion
Now, let’s mix up a powerful yet gentle cleaning solution suitable for your floor type. If you have tile or laminate floors, a mild all-purpose cleaner is ideal. For hardwood floors, opt for a cleaner specifically designed for wood surfaces. Fill your bucket with warm water and add a small amount of the chosen cleaner. Remember, a little goes a long way. Stir the solution, creating your cleaning superhero ready to tackle the grime on your kitchen floor.

Step 4: Mopping Away the Grime
Dip your mop into the cleaning solution, wring it out slightly, and start mopping from one corner of the floor, working your way across. For tile or laminate floors, a damp mop is perfect. However, for hardwood floors, ensure your mop is just slightly damp to prevent excess moisture from seeping into the wood. Imagine you are giving your floor a rejuvenating bath. For those stubborn spots, use the soft cloth or sponge dipped in the cleaning solution, providing extra care where needed. Repeat the mopping process to ensure every inch of your floor is thoroughly cleaned.
Step 5: Allowing it to Shine
With the cleaning complete, allow your floor to air dry. This won’t take too long, giving you the perfect opportunity to engage in other enjoyable activities. Once dry, take a moment to admire your spotless kitchen floor. Congratulations, you did it!
In-depth Cleaning for Rugs:
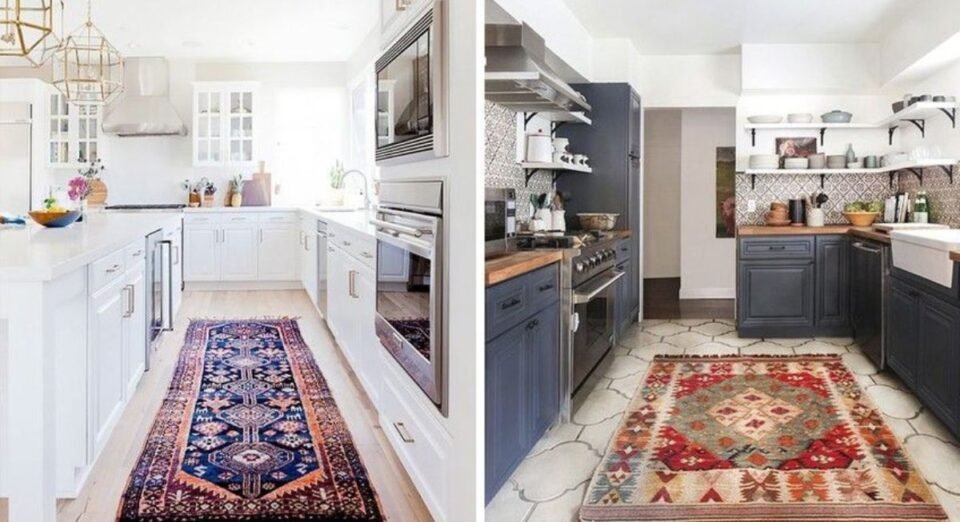
Don’t forget about the rugs in your kitchen—they deserve some attention too. Rugs not only add a touch of warmth and comfort but also enhance the overall aesthetic of your kitchen. Whether you have traditional rugs, modern patterns, or even abstract rug designs, maintaining their cleanliness is essential. Here are some additional steps to ensure your kitchen rugs, stay spotless:
Step 1: Shake Off the Dust
Take your rug outside and give it a good shake to remove loose dirt and debris. This step is particularly important for rugs, where intricate patterns might hide dust in unexpected places.
Step 2: Vacuum for Precision
Use a vacuum cleaner with a brush attachment to meticulously remove any remaining dirt and dust from the intricate details of abstract rugs. Pay special attention to corners and edges, ensuring no particle is left behind.
Step 3: Tackling Stains with Care
If there are any stains on your rug, address them with a gentle cleaner or a mixture of water and vinegar. For abstract rugs with unique designs, be mindful not to disrupt the patterns while gently blotting the stains. Avoid aggressive scrubbing to maintain the integrity of the rug’s artistic elements.
Step 4: Let it Breath
Allow your rug to air out for a while. Hanging it over a railing or laying it flat outdoors can help freshen it up. This step is crucial for any rugs like abstract, traditional, or 12 x 15 rugs, as proper airing ensures that the intricate details and vibrant colors remain in top-notch condition.
Step 5: Revel in the Cleanliness
Now that your rug, including ones, is clean and refreshed, place it back in your kitchen. Enjoy the cozy, spotless atmosphere it brings to your space, appreciating the unique artistry of your area rugs.
Conclusion:
Achieving a spotless kitchen floor is a simple yet rewarding task that contributes to the overall well-being of your home. The five easy steps outlined for floor cleaning ensure not only cleanliness but also the preservation of various floor types, from tile and laminate to engineered hardwood. By following these steps, you can revel in the satisfaction of a hygienic and visually appealing kitchen environment.